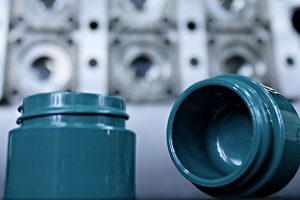
When you go to a moldmaker, what are you really buying—just steel or something more? The reality is you’re paying for the plastic part, and not just any part, but a dimensionally stable component that will meet the part print shot after shot for the millions of cycles that the tool will be running. With that in mind, why aren’t molders and moldmakers talking about plastic quality sooner?
Back in 2017, Westminster Tool implemented a more proactive plastic-quality design process. At that time, we looked at what we called our five “biggest losers.” These were projects that were our least successful in regard to timing, budget and part quality. We took a deep dive into all of them to find the root causes of the problems, and what we discovered was that in all five cases, the crux of the issue was plastic part quality—issues with tolerances and dimensions that we easily could have avoided in the beginning if we had just had the right discussions with our customers.
As a result of that deep dive, Westminster Tool now undertakes five steps on every project during design: Compare 2D prints to 3D models; CT scan existing parts if there are any; complete a dimensional risk analysis; understand Cpk goals; and perform a Moldex3D simulation. Once these steps are completed, we can define and align quality plans.
Why is it important to take these steps early in the process? Since Westminster Tool initiated this new protocol, we have found that one week added in the design phase—which is about how long it takes to complete these five steps—has eliminated at least three weeks on the back end in terms of troubleshooting, adjustments and more. In addition, the money and time expenditure to make an alteration to a mold design is far lower than having to make corrections to steel manufacturing.
2D to 3D Comparison
At the end of the day, the customer is paying for the plastic part’s dimensions and meeting the tolerances and quality requirements. To accomplish that, one of the first things Westminster Tool does during design is to take the 3D model and fully dimension and detail that model to ensure it matches the dimensions on the 2D part print. Since that print is what everything will be measured to, it is literally the definition of success. Putting this comparison into our process really helps us to identify any risk areas where the plastic dimension in the 3D model does not match the 2D expectation for that part.
Read more: Take Time to Save Time: Five Steps in Mold Design to Reduce Back-End Troubleshooting